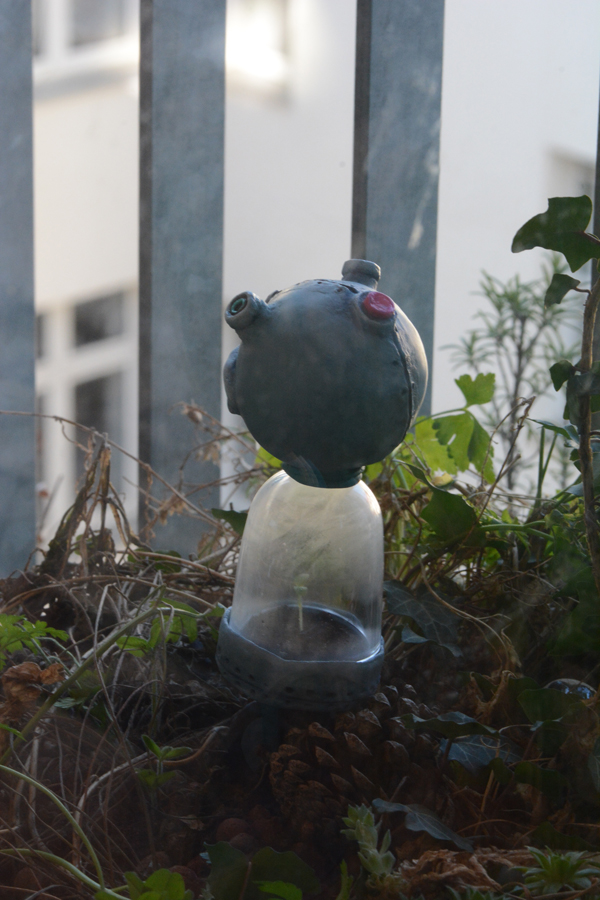
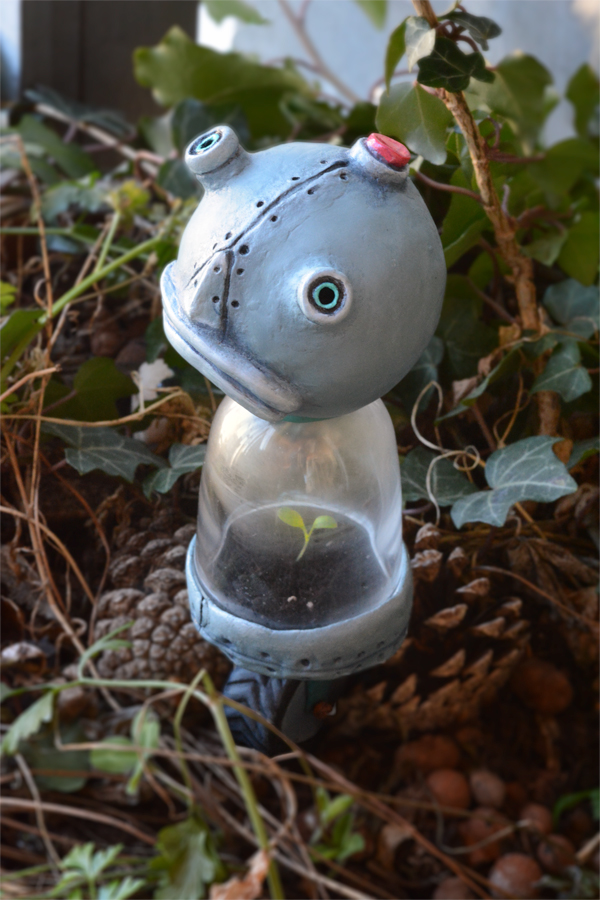
A friend of mine is making a game called Pippi Pilots, and for the release of the game he wants to have an art book. He asked me if I would be up for making something based on the game, and I was up for the challenge. The concept of the world is that humans have abandoned the planet, and left the robots behind. The little robot I created was appointed taking care of a seeds, and this is the last one they gave it.
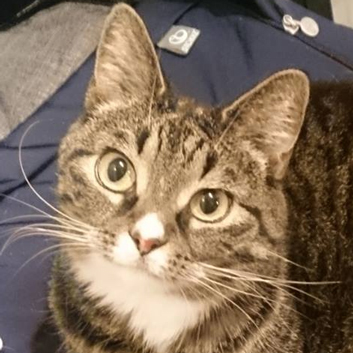
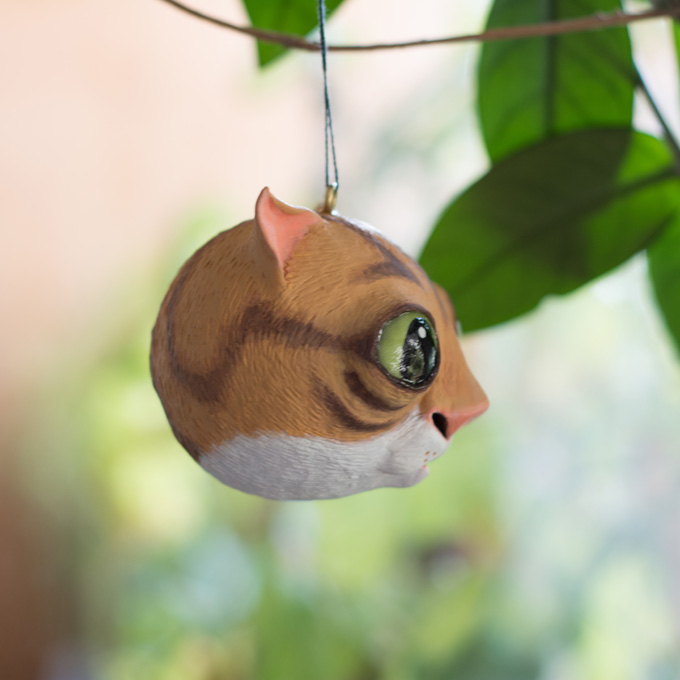
I got contacted by a cat owner who wanted to have a cat ornament made based on their cat. I got this photo, and just adore the white little spot on top of the nose!
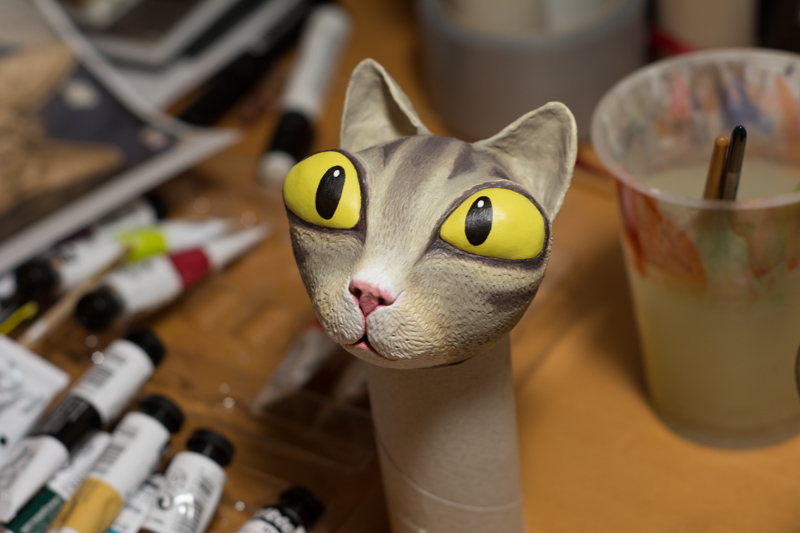
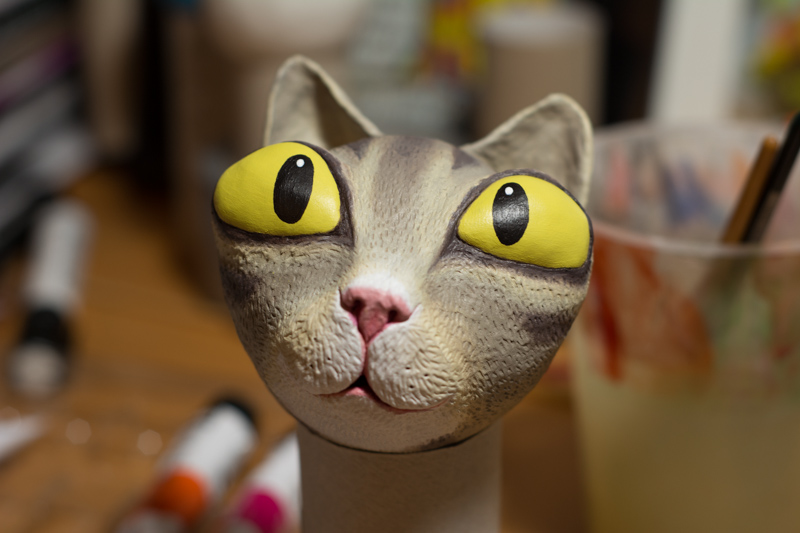
But I was struggling coming up with what colours the cat really was having.
I asked about the eye colour, and it is bright yellow. For the rest of the colours I used Photoshop's eye dropper tool to grab colours from various part of the photo without being fooled by my eyes.
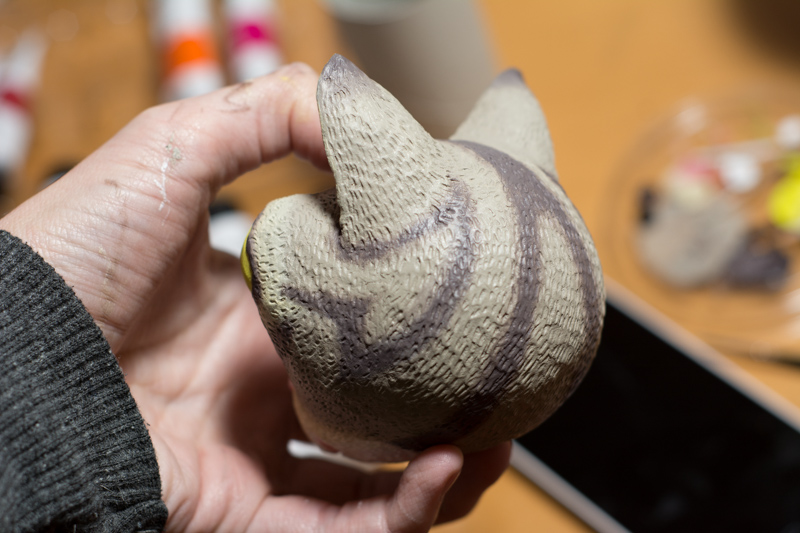
It is not a foolproof method, and I am afraid my cat came out greyer than the real cat is.
Anyway, here are some more pictures of the ornament I made. I added some extra varnish to the eyes after taking the photos, in order to make them glossier.
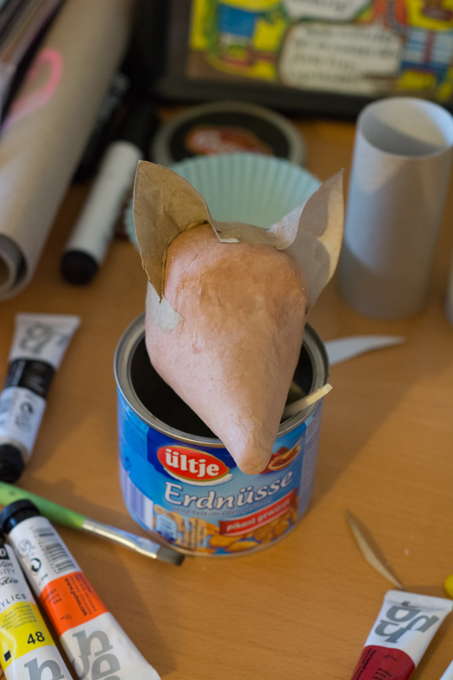
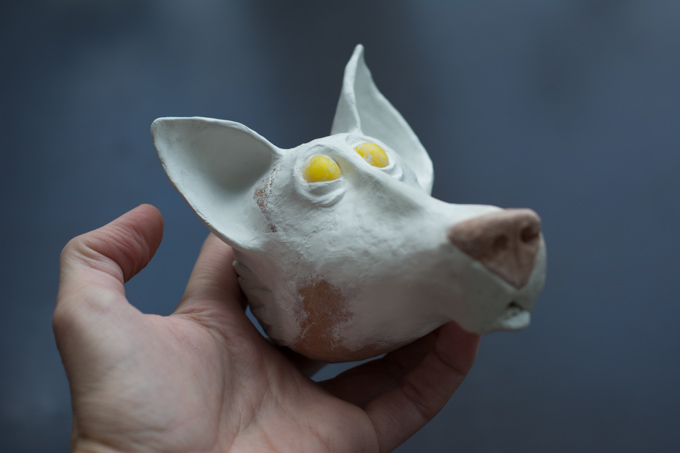
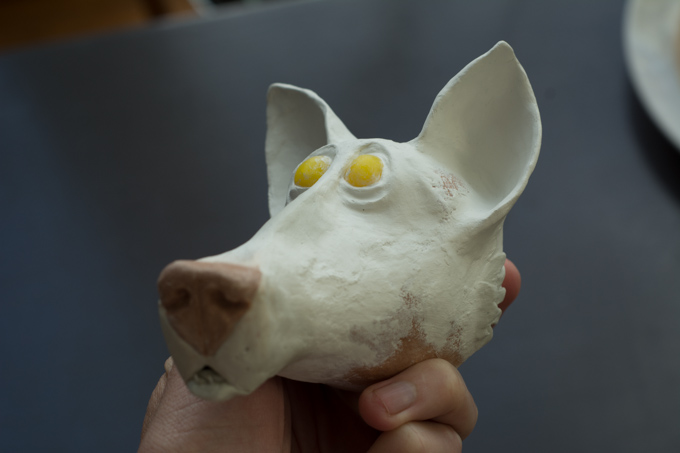
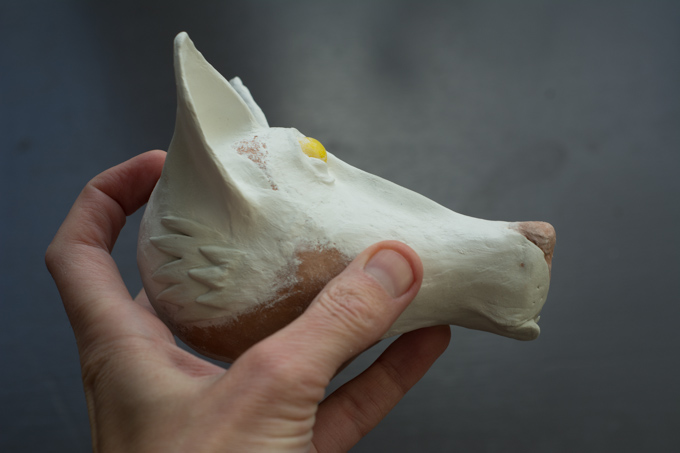
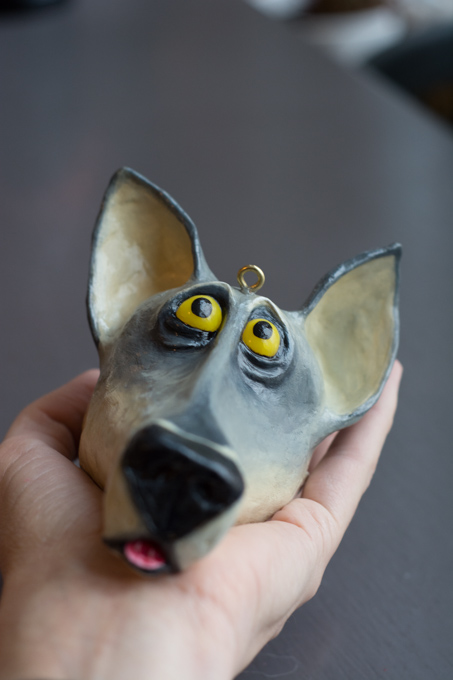
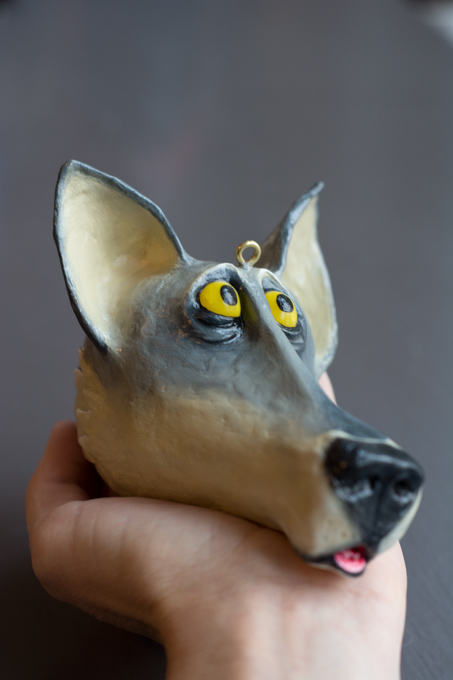
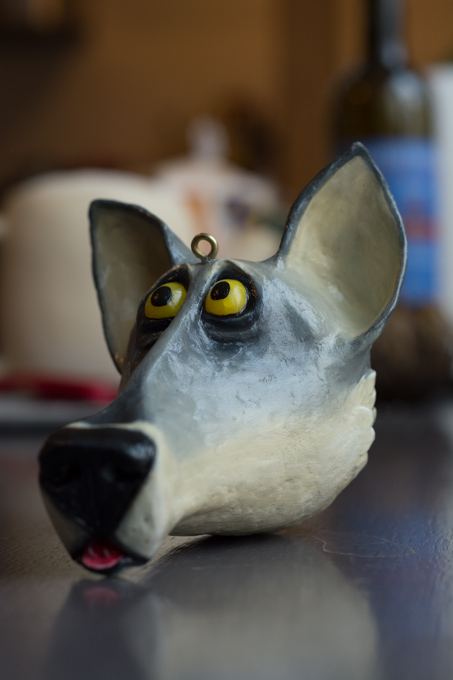
As I mentioned in my earlier post I got an order for an owl and a wolf. I documented the making of the wolf, and thought I would share it with you.
Here goes:
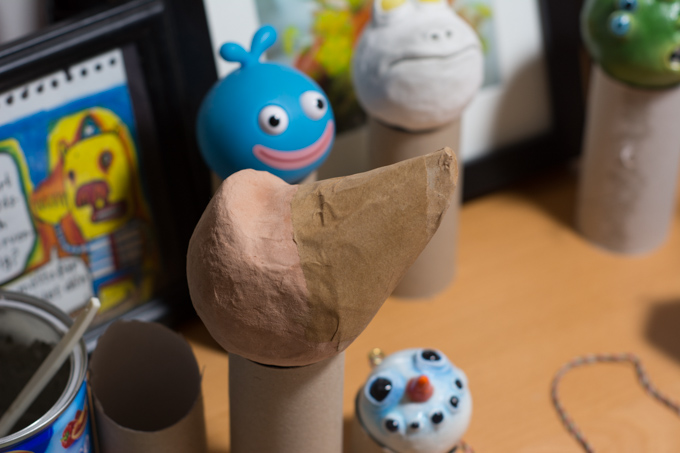
At first I used a Styrofoam ball that I cut in half, and then used wallpaper adhesive and part of an empty toilet roll to shape the nose. The Styrofoam ball part was also covered in paper clay.
More toilet roll parts were used to shape the ears, and I added paper clay around the nose part to smooth it out.
The last modelling step was to add eyes and details.
And then I painted and added varnish:
Last step is shipping!
Here goes:
At first I used a Styrofoam ball that I cut in half, and then used wallpaper adhesive and part of an empty toilet roll to shape the nose. The Styrofoam ball part was also covered in paper clay.
More toilet roll parts were used to shape the ears, and I added paper clay around the nose part to smooth it out.
Then I covered the ears with paper clay, and shaped the nose a bit further.
The last modelling step was to add eyes and details.
And then I painted and added varnish:
Last step is shipping!
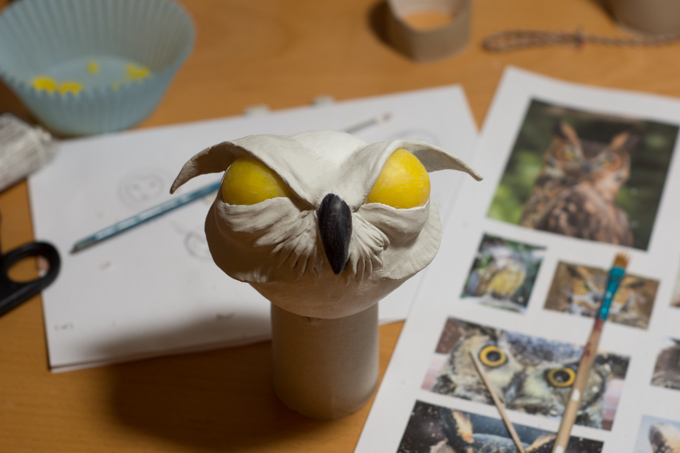
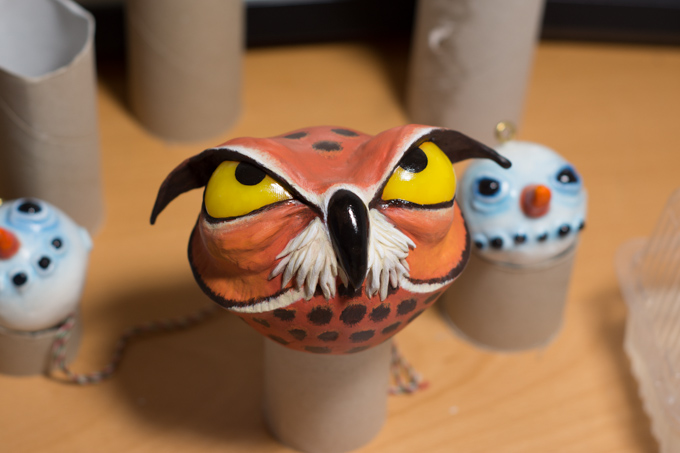
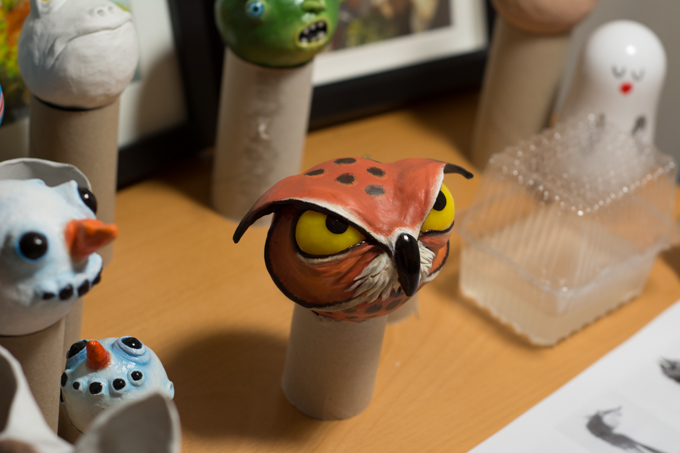
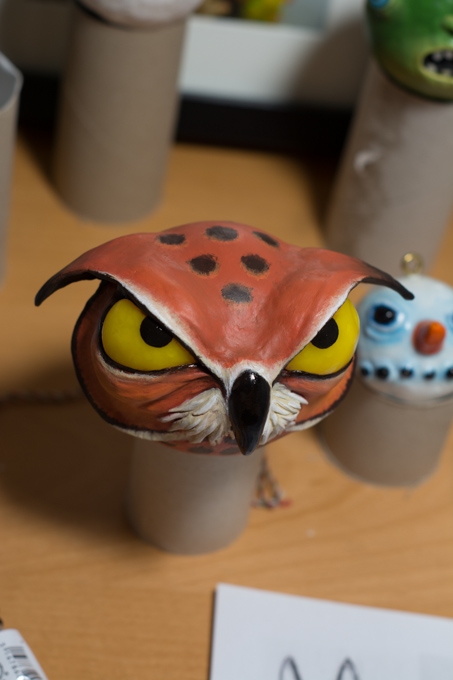
I got an order for making an owl and a wolf, and started out with the owl. I modelled it based on owl pictures that, for some reason or the other, caught my attention.
(Well, to be precis, before modelling it I made its eyes and beak from polymer clay.)
Then I painted it:
(Well, to be precis, before modelling it I made its eyes and beak from polymer clay.)
Then I painted it:
It did not turn out as the happiest owl in the world, but it does match the angry snowman in the background. I have not attached screw eye to the owl yet, and I will ask the buyer if she want me add shiny varnish, but otherwise I consider it done.
It was my birthday this Monday, and I got a new paint set that I wanted to try out.
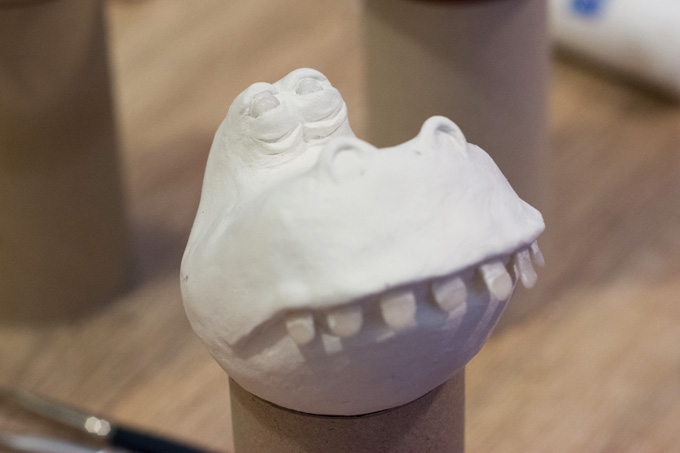
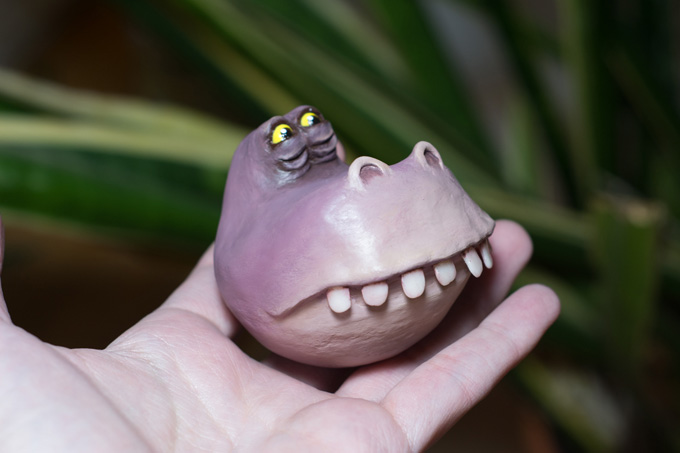
So I sculpted this dinosaur head, and started painting.
The finish of the colour is satin matt, and I found out that I liked it more than the completely matt finish that my previous Flashe colours left me with.
Compare the lustre of the colour with the Flashe painted cat below (not the eyes though, they got some glossy varnish on them):
Which do you prefer?
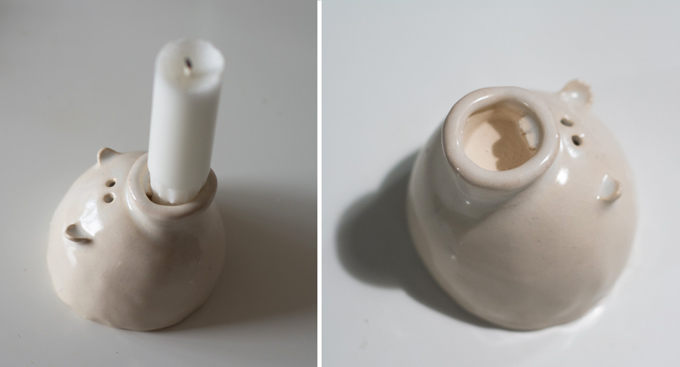
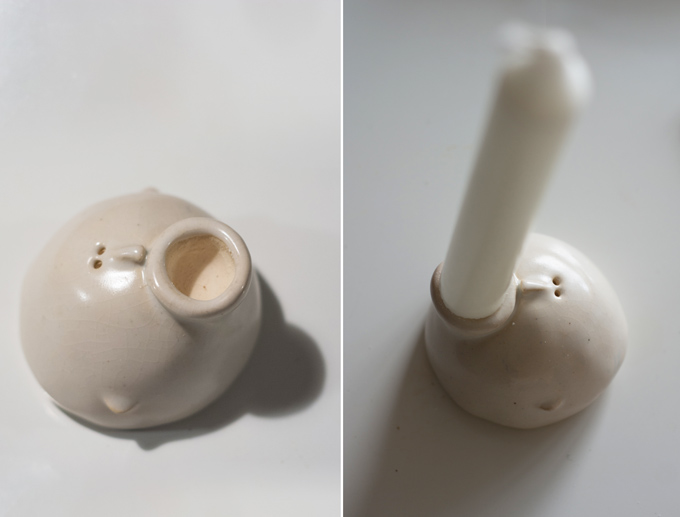
Yesterday I brought home my candle holder creatures that I made in an open pottery class I go to. I repeatedly forgot to bring a candle to the class while creating them, so I ended up making the size of the hole based on a mix of memory and guess. That was pretty doomed to fail, but with a bit of carving the candles actually fits! Sometimes you are lucky.
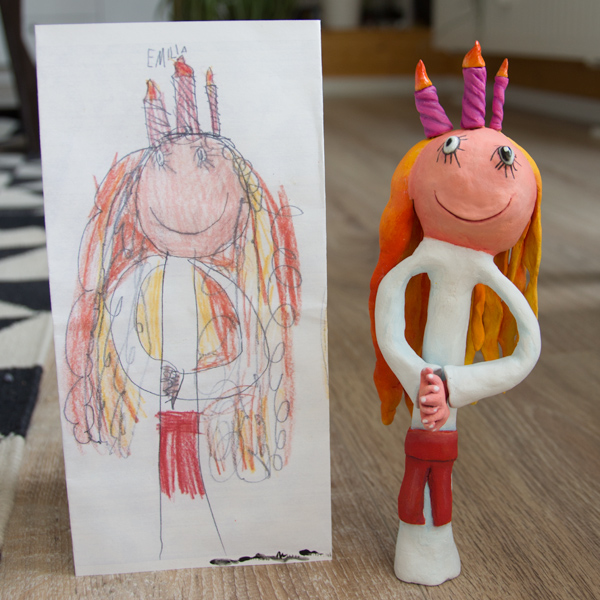
This is another figurine I made based on a child's drawing. The child in question is my niece, and I wish I could have made her hair better justice. It is crazy fun!
My niece is not crazy putting burning candles on the head of herself (it is a self portrait), as she is dressed for Lucia. It is a traditional celebration the 13th of December in Sweden, you can learn more about it here below.
[youtube https://www.youtube.com/watch?v=IgxZS4mWSrw&w=560&h=315]