

A wolf being made
December 07, 2016
As I mentioned in my earlier post I got an order for an owl and a wolf. I documented the making of the wolf, and thought I would share it with you.
Here goes:

At first I used a Styrofoam ball that I cut in half, and then used wallpaper adhesive and part of an empty toilet roll to shape the nose. The Styrofoam ball part was also covered in paper clay.
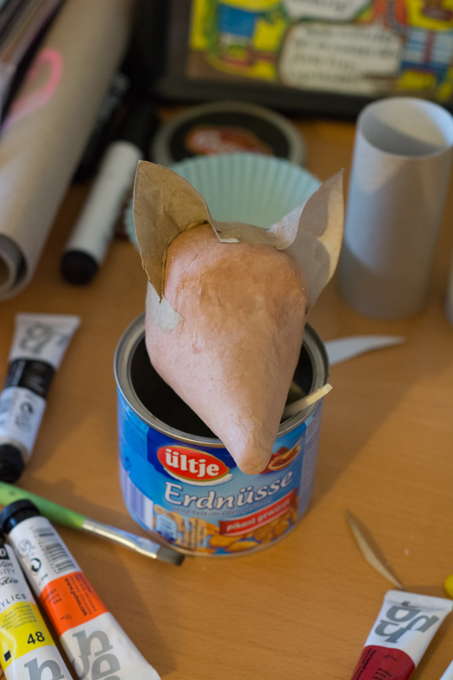
More toilet roll parts were used to shape the ears, and I added paper clay around the nose part to smooth it out.
![the paper ball, cone and]()
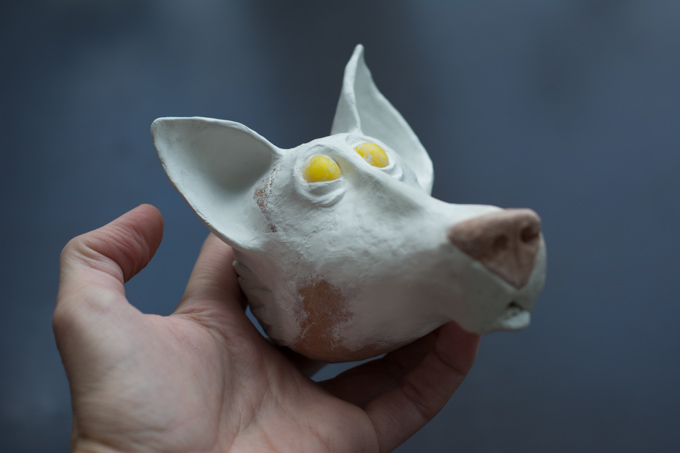

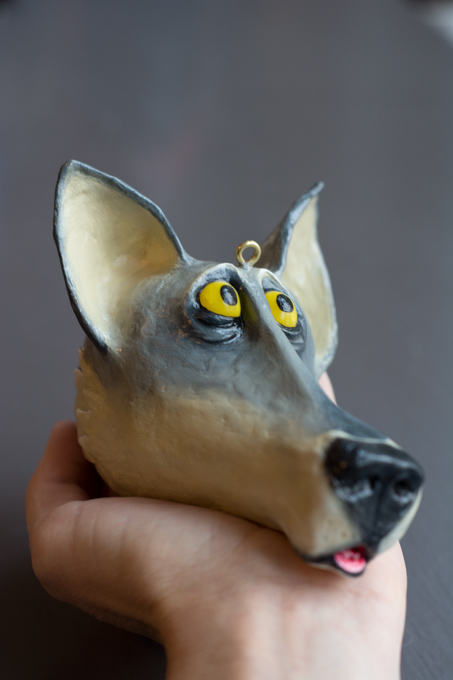
The last modelling step was to add eyes and details.
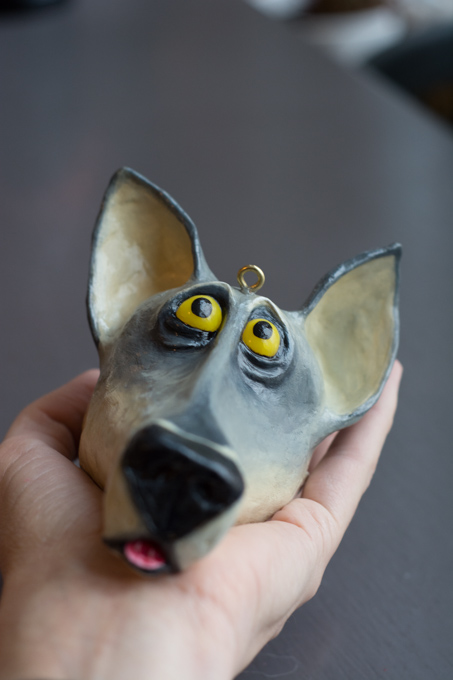
And then I painted and added varnish:
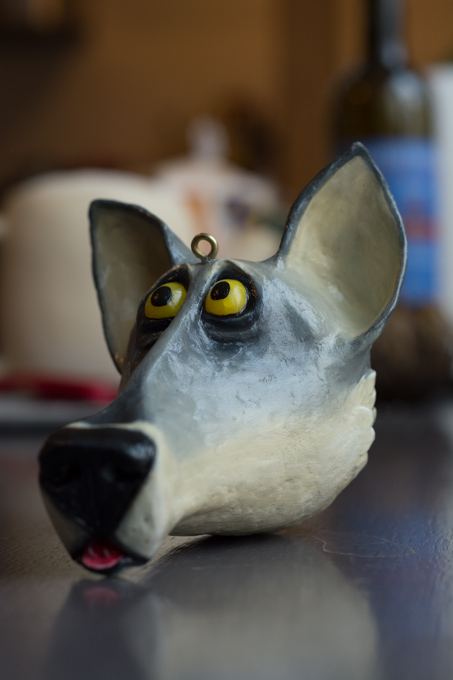
Last step is shipping!
Here goes:
At first I used a Styrofoam ball that I cut in half, and then used wallpaper adhesive and part of an empty toilet roll to shape the nose. The Styrofoam ball part was also covered in paper clay.
More toilet roll parts were used to shape the ears, and I added paper clay around the nose part to smooth it out.
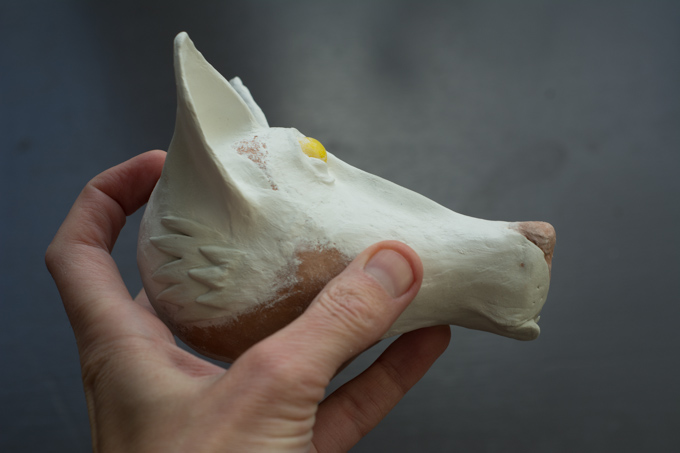
Then I covered the ears with paper clay, and shaped the nose a bit further.
The last modelling step was to add eyes and details.
And then I painted and added varnish:
Last step is shipping!

0 comments
Note: only a member of this blog may post a comment.